Your cart is currently empty!
Blog
May 07, 2026
Blog
How to Clean a Firearm: A Step-by-Step Guide
May 07, 2026
Short Answer: To clean a firearm, verify it is unloaded, field strip it per the owner’s manual, scrub the bore with solvent and a bore brush, wipe down the action, lubricate moving parts with gun oil, and reassemble for a function check. Cleaning frequency depends on use, ammunition type, and storage conditions, with most firearms needing attention after every range trip.
A clean gun is a safer, more reliable, and more accurate gun. Knowing the cleaning process matters as much as knowing how often to do it.
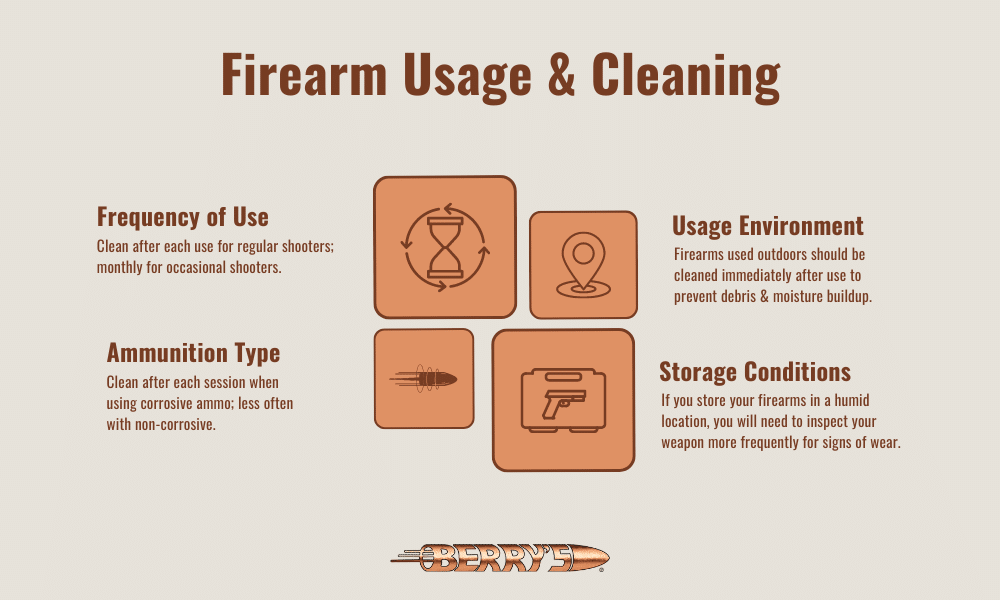
Cleaning frequency depends on a few factors:
- Frequency of use at the range
- Type of ammunition fired
- Where the firearm is used
- How it is stored between sessions
Competitive shooters running multiple range sessions per week should clean after every use. Occasional shooters can stretch intervals to roughly once a month. This guide covers the tools, the step-by-step process, safety, and the common mistakes most owners make. Start with the basic firearm safety rules every time you handle a gun.
Tools and Supplies You Need
The right cleaning kit makes the difference between a quick, thorough cleaning and a frustrating session. Most gun cleaning kits cover the basics, but a few items are worth adding before getting started.
What Goes in a Basic Cleaning Kit
A basic gun cleaning kit should include:
- Cleaning rod or bore snake sized for your caliber
- Bore brush in the correct caliber, bronze or nylon
- Cleaning patches plus a jag or slotted tip
- Cleaning solution or CLP to break down carbon, lead, and copper deposits
- Copper solvent for stubborn fouling deposits
- Gun oil for lubrication and rust prevention
- Utility brushes in nylon or brass, plus a toothbrush for tight spots
- Microfiber cloth or rag for the final wipe-down
- Cleaning mat to protect the work surface
- Berry’s Gun Vise to hold the firearm steady
A spray bottle of solvent and a needle oiler also help reach tight spots inside the action.
How to Clean a Firearm Step by Step
These five steps work for nearly any modern handgun, rifle, or shotgun. Reference the owner’s manual for platform-specific disassembly instructions.

Step 1: Field Strip the Firearm
Field stripping breaks the gun down to its main components for cleaning. The extent depends on platform.
- Semi-auto pistols typically separate into slide, barrel, recoil spring, and frame
- Revolvers clean with the cylinder swung open
- Bolt action rifles separate into receiver and bolt
- AR-platform rifles separate into upper, lower, and bolt carrier group
Only disassemble what is needed for routine cleaning. Going deeper risks losing small parts and getting reassembly wrong.
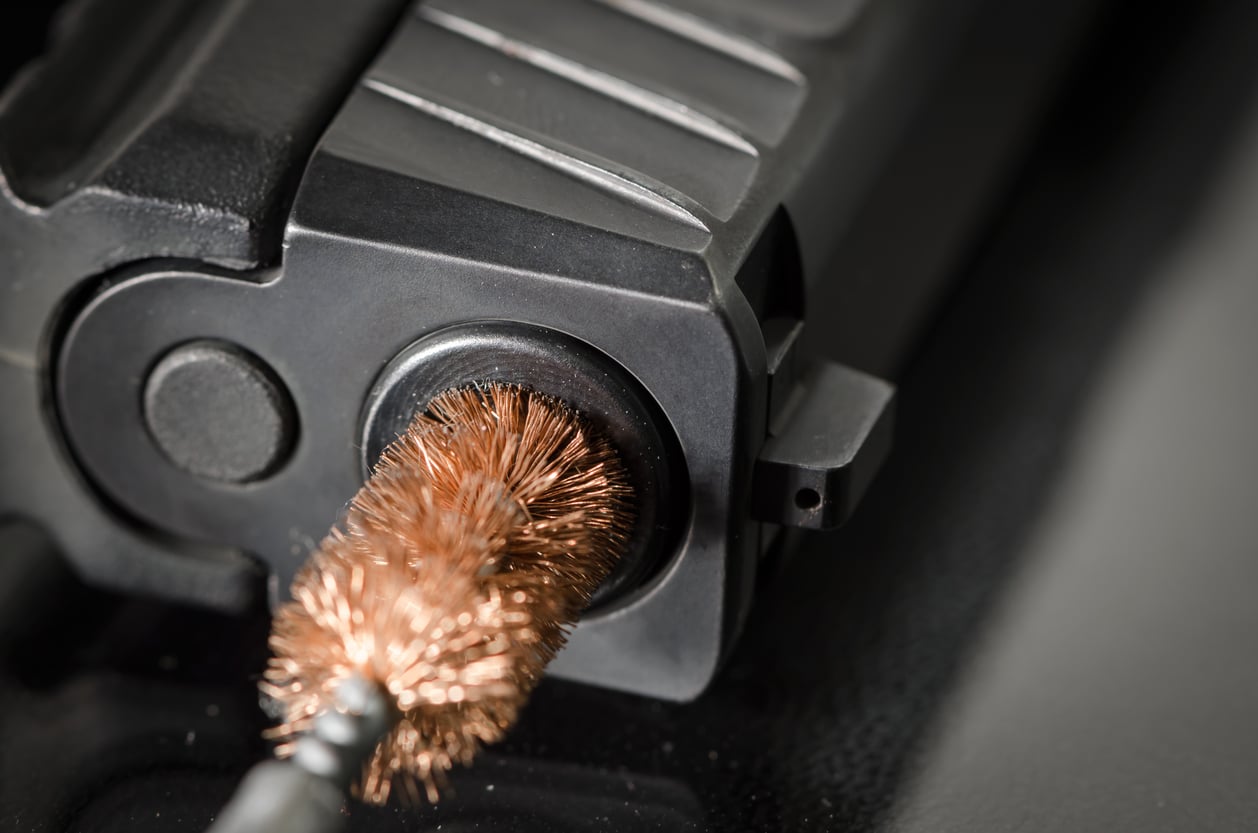
Step 2: Clean the Barrel
Clean the barrel by running a patch through it first, then a bore brush with cleaning solution, then dry patches until they come out clean. Push from breech to muzzle whenever the platform allows.
The basic sequence:
- Run a cloth or patch through the barrel to remove loose dirt and debris
- Attach the bore brush to the cleaning rod and apply solvent
- Pass the brush through the barrel several times
- Let solvent dwell for a few minutes on heavy carbon or copper fouling
- Push a dry patch through until it comes out white
Bolt action rifles benefit from a bore guide that protects the chamber and crown from rod contact during cleaning.
Step 3: Clean the Other Components
Wipe down every contact surface that fouling can reach. The slide rails, breech face, extractor, feed ramp, and trigger group all need attention after a range trip.
- Use a solvent-dampened patch or utility brush on the slide and frame
- Hit tight spots with a toothbrush
- AR-style rifles need attention on the bolt carrier group and bolt face
- Revolvers need the cylinder face and forcing cone wiped clean
- Avoid soaking polymer frames in solvent
A clean gun body protects against rust and keeps moving parts working smoothly.
Step 4: Lubricate
Apply a light coat of gun oil to wear surfaces. Less is always more.
Focus areas by platform:
- Semi-auto pistols: slide rails, barrel hood, lugs, disconnector
- Bolt action rifles: bolt lugs, cam pin
- AR-platform rifles: bolt carrier rails, bolt body, cam pin
Over-lubrication attracts dust and carbon, which causes more problems than it prevents. Wipe excess oil with a clean cloth before reassembly.
Step 5: Reassemble and Function Check
Reassemble in reverse order per the owner’s manual. Run a function check before putting the gun away.
- Confirm the firearm is unloaded one more time
- Point the muzzle in a safe direction
- Cycle the action manually several times
- Pull the trigger to confirm reset where applicable
- Test the safety
- Wipe down the exterior with a lightly oiled cloth
This is also a good time to check sights, screws, and any optics for looseness.
A Note on Deep Cleaning
Deep cleaning goes beyond the regular routine and breaks down smaller parts the basic process skips.
A few times a year, pull apart the firing pin, extractor, and other small components. Apply solvent and a brush to each piece, paying close attention to crevices. Rinse, dry, and reassemble carefully.
For reloaders, Berry’s brass cleaning equipment handles the empty case side of maintenance, with the brass cleaning blog covering the full process.
Safety Practices While Cleaning
Safe cleaning starts with verifying the firearm is unloaded. Every single time. No exceptions, even if you cleared it minutes ago.
Run through these steps before any disassembly:
- Point the muzzle in a safe direction throughout the process
- Remove the magazine on a semi-auto, or open the cylinder on a revolver
- Visually and physically inspect the chamber
- Lock the action open and confirm it is empty
- Move all ammunition to a separate room or container
- Confirm the firearm is unloaded one more time before disassembly
Many semi-auto pistols require pulling the trigger to disassemble. Live rounds and the gun must be in different physical spaces during cleaning.
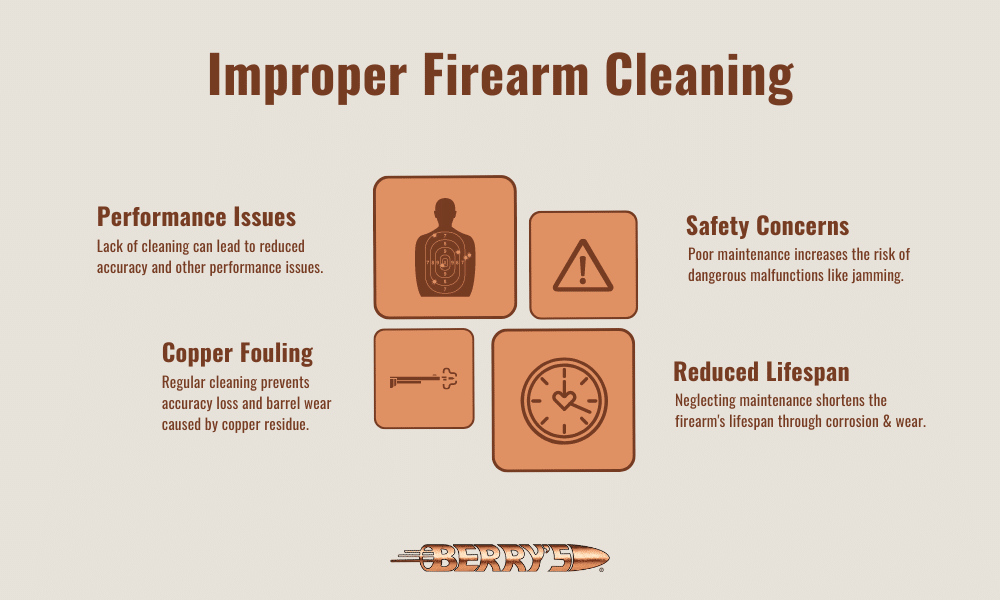
Common Mistakes to Avoid
The most common cleaning errors damage firearms more than fouling ever would. The main thing to remember is that gentler is usually better.
Avoid these mistakes:
- Over-lubricating the action, which attracts dust and gums up moving parts
- Using stainless steel cleaning rods, which can score the bore over time
- Skipping a bore guide on bolt action rifles
- Leaving solvent in the bore between sessions, which can pit the rifling
- Ignoring copper fouling, which gradually degrades shooting accuracy
- Aggressive scrubbing that does more damage than fouling ever would
- Using harsh solvents on polymer frames, which can degrade the material
- Skipping the function check after reassembly
Next time you clean, slow down. A patient cleaning session protects the firearm better than an aggressive one.
Berry’s Gun Vise: A Better Cleaning Workstation
A stable workstation makes every step of gun cleaning easier and safer. The right vise holds the firearm steady so both hands stay free for the work.
Berry’s Gun Vise is built for this. Features that matter:
- 360° Ball & Case technology that lets shooters swivel and maneuver firearms during cleaning
- Soft jaws that hold the firearm securely without damaging the finish
- Adjustable platform sized for rifles, shotguns, and handguns
Berry’s has earned its reputation through over 60 years of bullet manufacturing, with 80+ types of superior plated bullets leading the line. Plated bullets reduce lead fouling in the barrel compared to cast lead bullets, which means less aggressive cleaning between range trips.
SIGN UP FOR OUR NEWSLETTER