Your cart is currently empty!
Blog
April 10, 2026
Blog
How to Sight in a Rifle Scope
April 10, 2026
At a Glance: Sighting in a rifle scope means aewdjusting your optic so your point of aim matches your point of impact at a set distance. Shoot a consistent group, measure your offset, adjust windage and elevation, and repeat until your shots land exactly where you aim.
What Does It Mean to Sight in a Rifle Scope?
Zeroing aligns where your reticle points with where the bullet actually lands. Your point of aim is where the scope sits on the target. Your point of impact is where the bullet hole appears downrange.
The zero distance is the range where those two points meet. Common zero distances include 25, 50, 100, and 200 yards, depending on the rifle, cartridge, and intended use. Zeroing applies to the entire rifle and optic system together, so a new scope always needs to be zeroed fresh. This is a repeatable process once you understand the steps.
Why Sighting In Matters
A rifle that isn’t zeroed leads to missed shots, wasted ammo, and real frustration at the range. For hunters, an unchecked zero can mean an unethical shot in the field. An inconsistent zero also makes your results unpredictable from session to session. Confirming your zero builds trust in your equipment and confidence in every shot.
Equipment You Need Before You Start
Rifle and Scope Setup
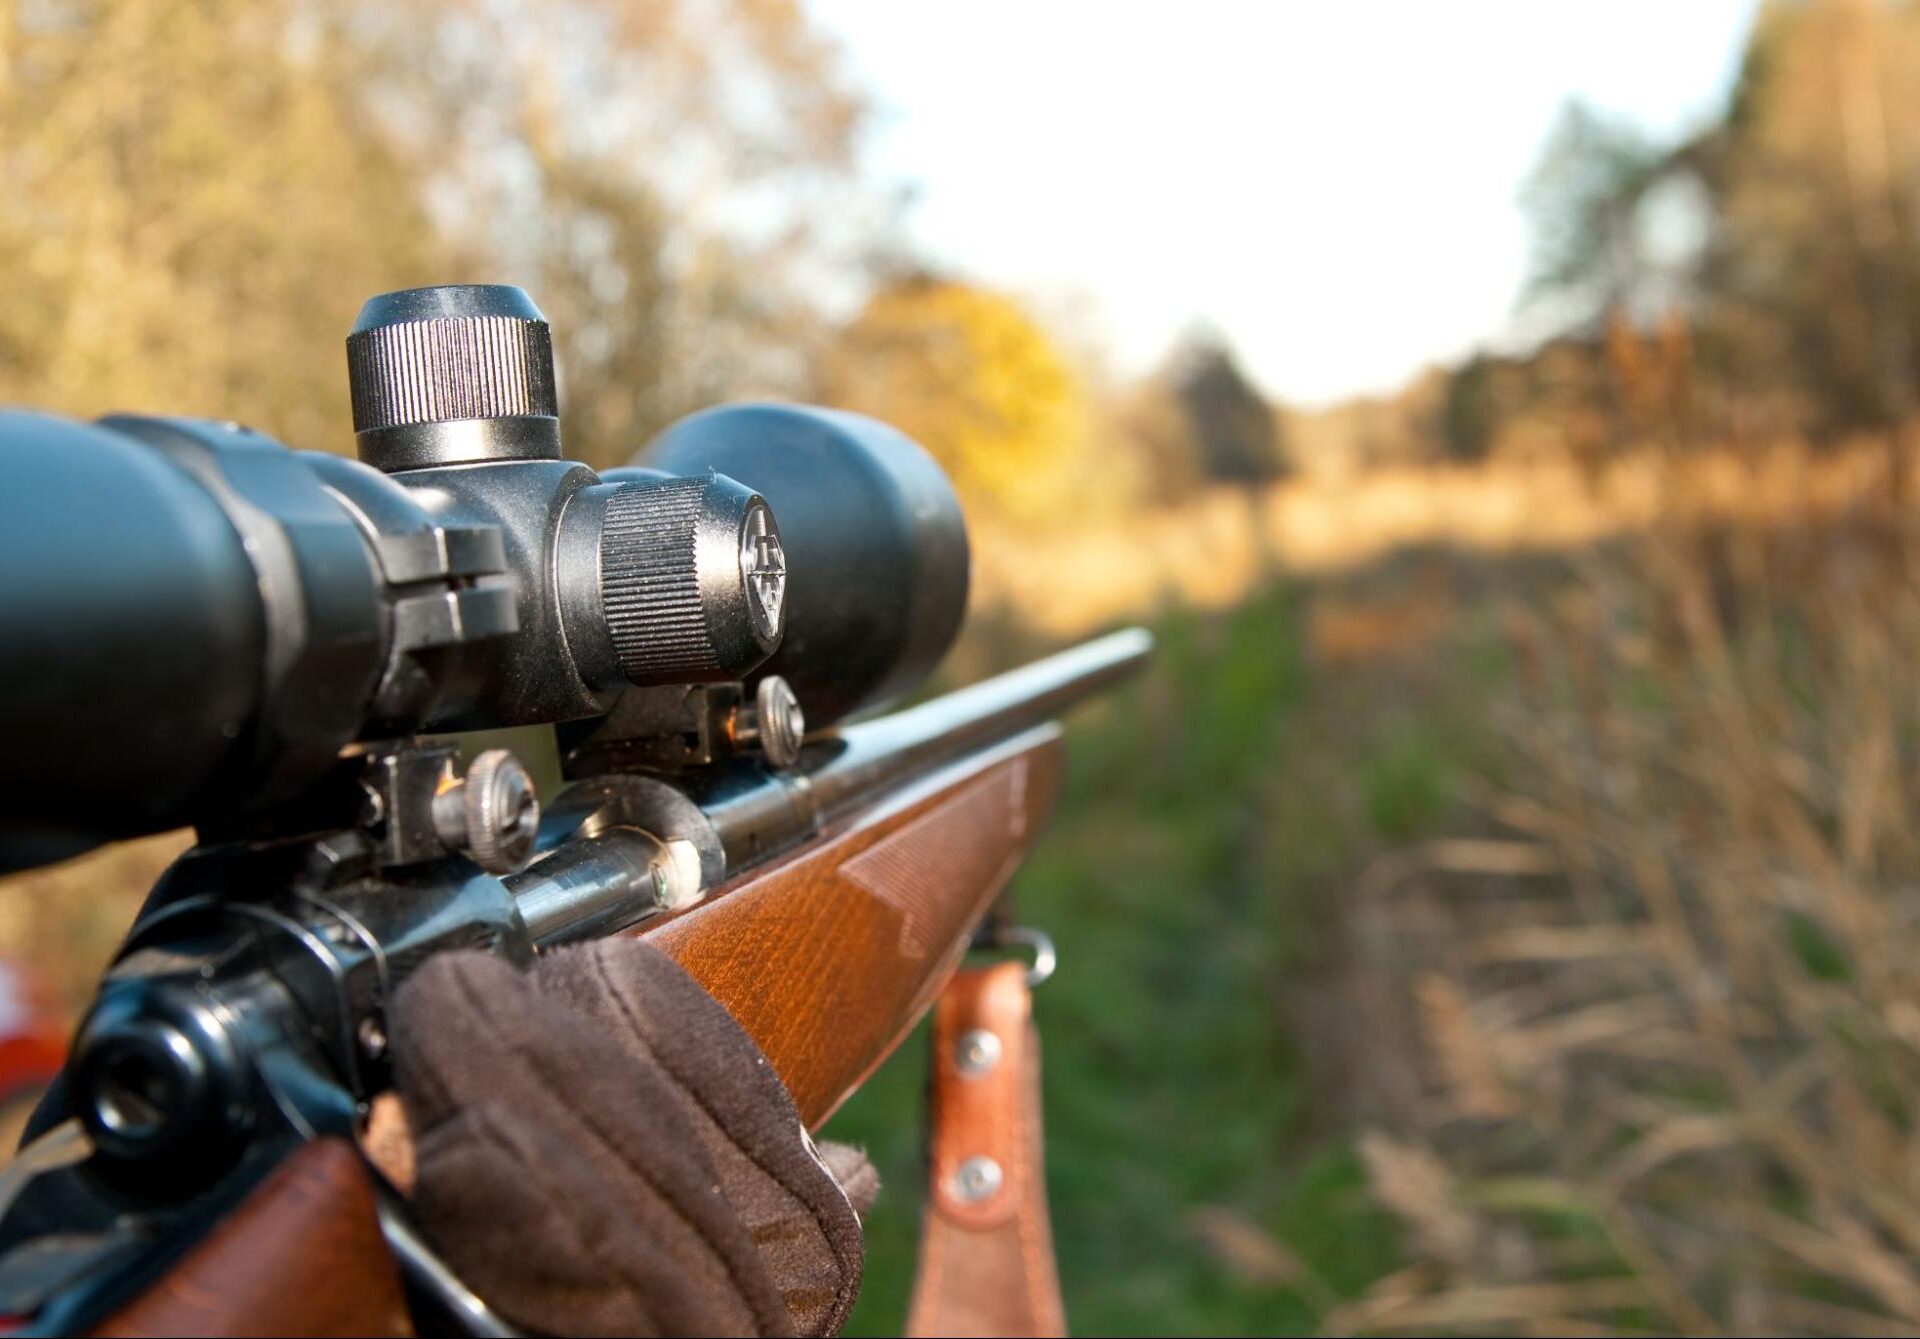
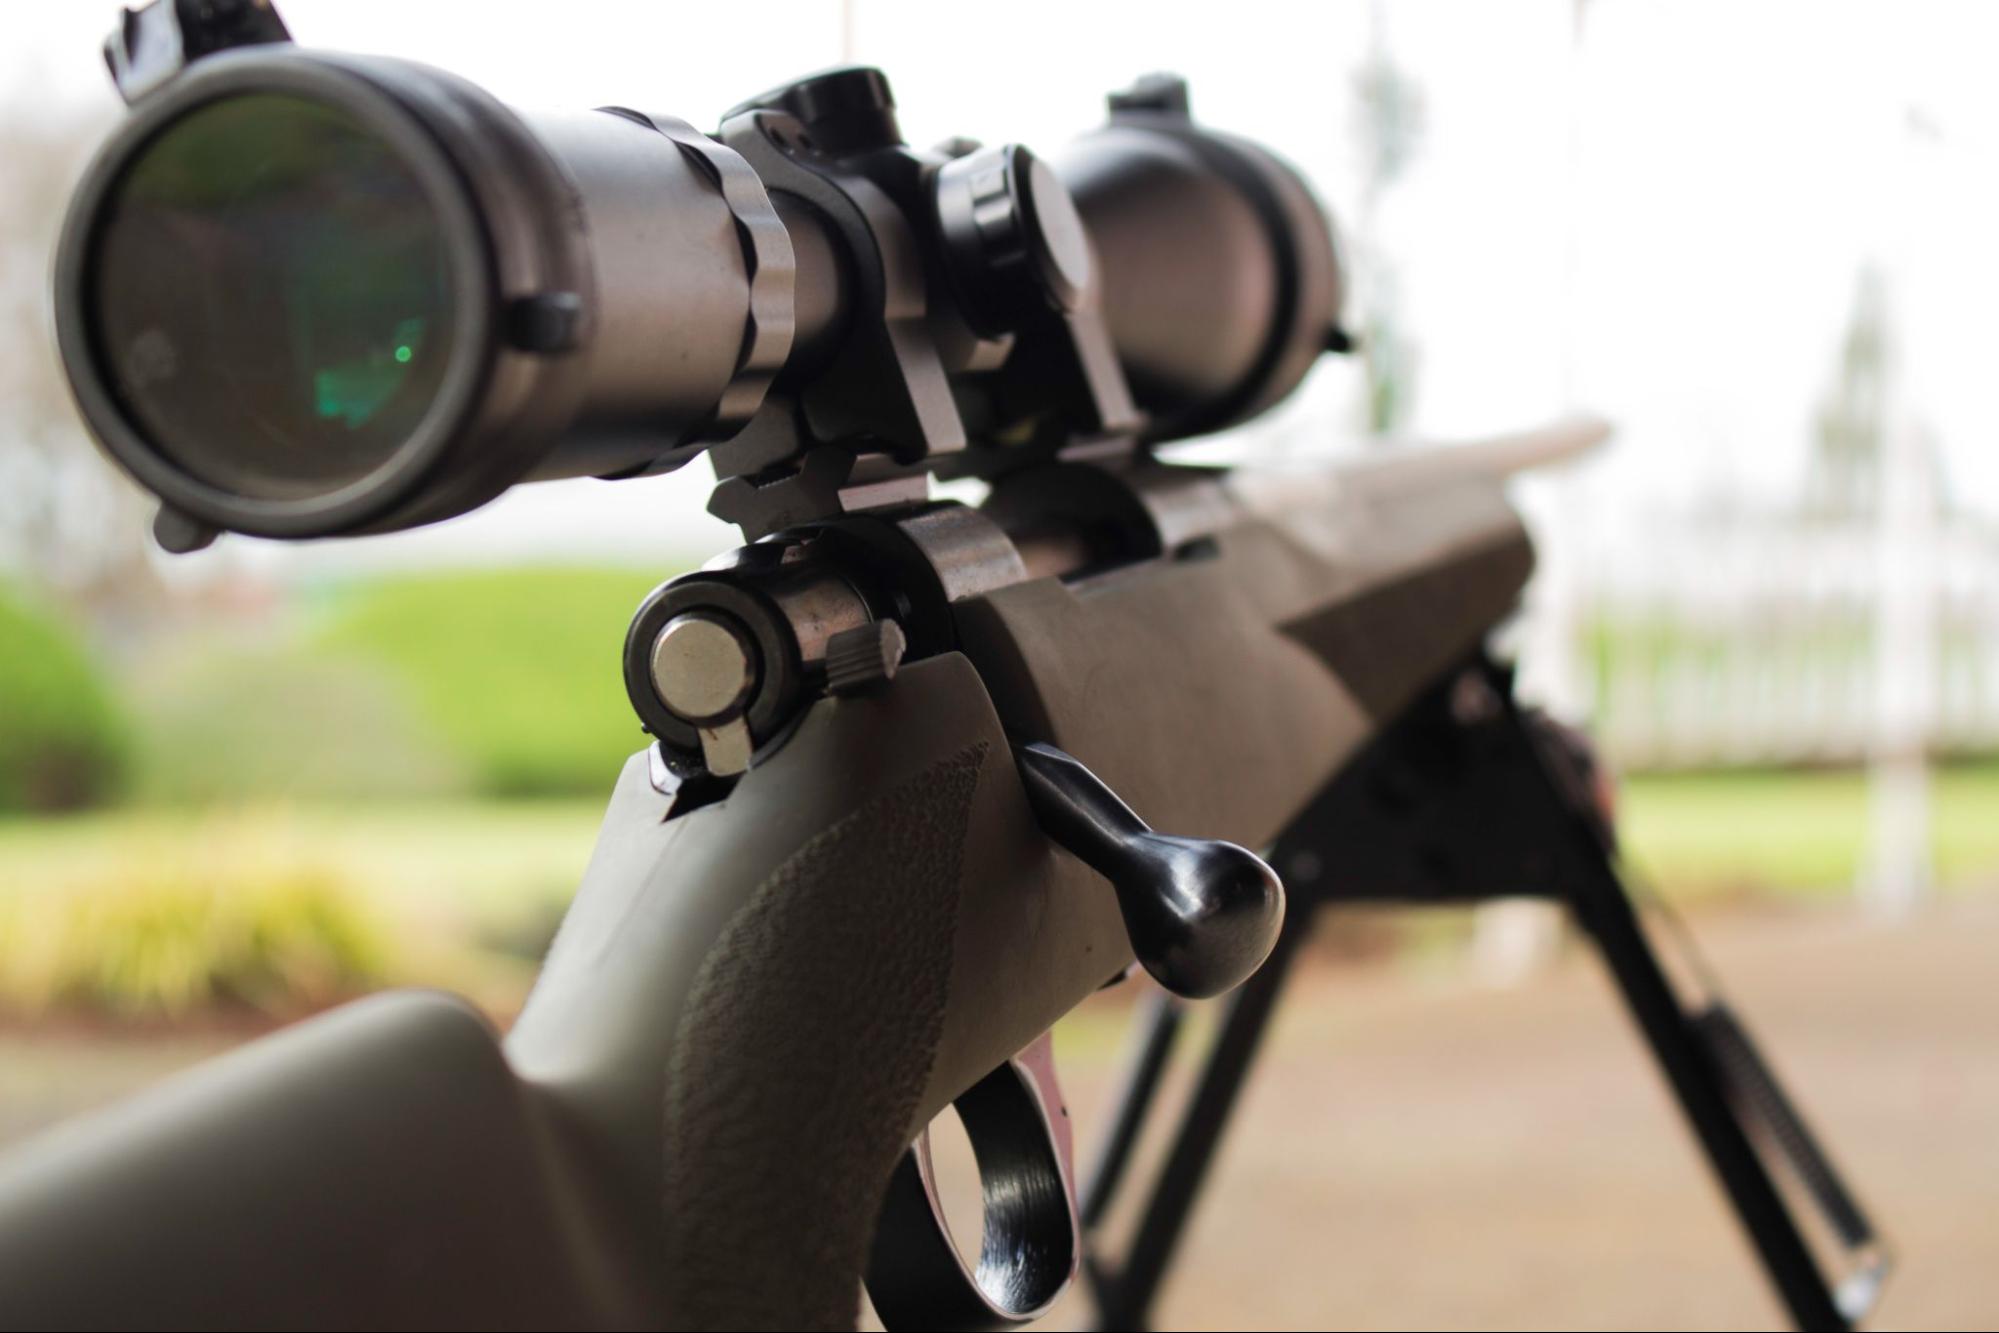
Verify that your scope mounts and rings are properly torqued before heading out. Loose scope mounts shift under recoil and make a reliable zero impossible. This applies to any optic, from a precision rifle scope to a red dot sight.
Ammo Consistency
Use the same ammo you plan to shoot long-term. Different loads change bullet drop and shift your point of impact, so switching mid-process means starting over.
Stable Shooting Platform
Stability removes shooter movement from the equation, so your adjustments reflect the rifle, not your body mechanics. Good options include a shooting bench with a front rest, shooting bags front and rear, or a bipod paired with a rear bag. A modular shooting rest gives you fine position control and keeps each shot consistent while you dial in your scope.
Understanding Scope Adjustments (MOA vs. MIL)
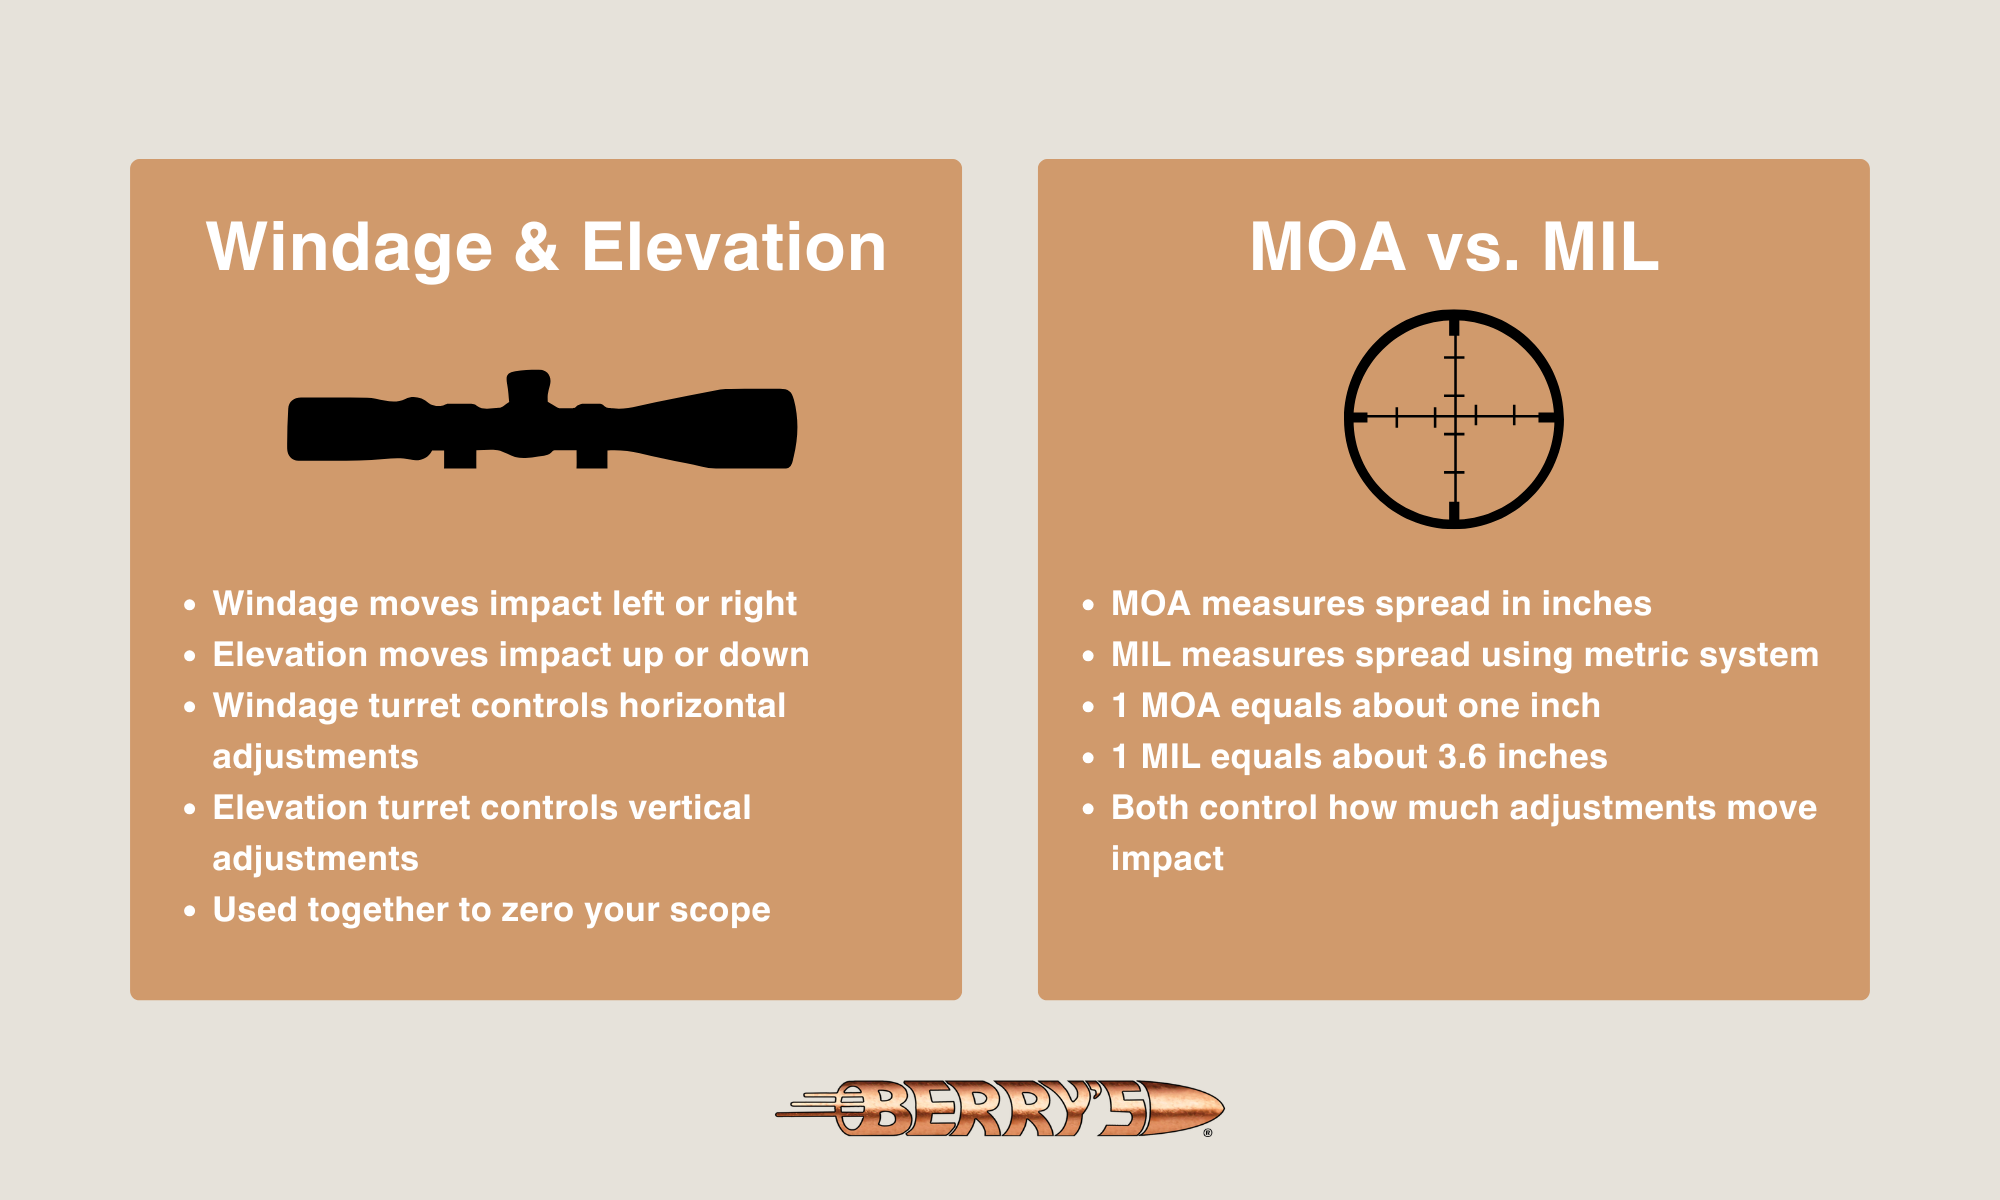
Windage and Elevation
Every scope has two turrets. The windage turret moves your point of impact left or right. The elevation turret moves it up or down. These are the only two adjustments needed to zero a rifle.
MOA vs. MIL Explained Simply
Minute of angle (MOA) is about 1 inch at 100 yards, making it intuitive for shooters who think in imperial measurements. MIL is a metric-based system; 1 mil equals 3.6 inches at 100 yards. Know which system your scope uses before you start.
What Each Click Means
A common scope adjustment is 1/4 MOA per click. At 100 yards, that’s about 1/4 inch per click, so a 2-inch correction takes about 8 clicks. Knowing the number of clicks removes the guesswork from every adjustment.
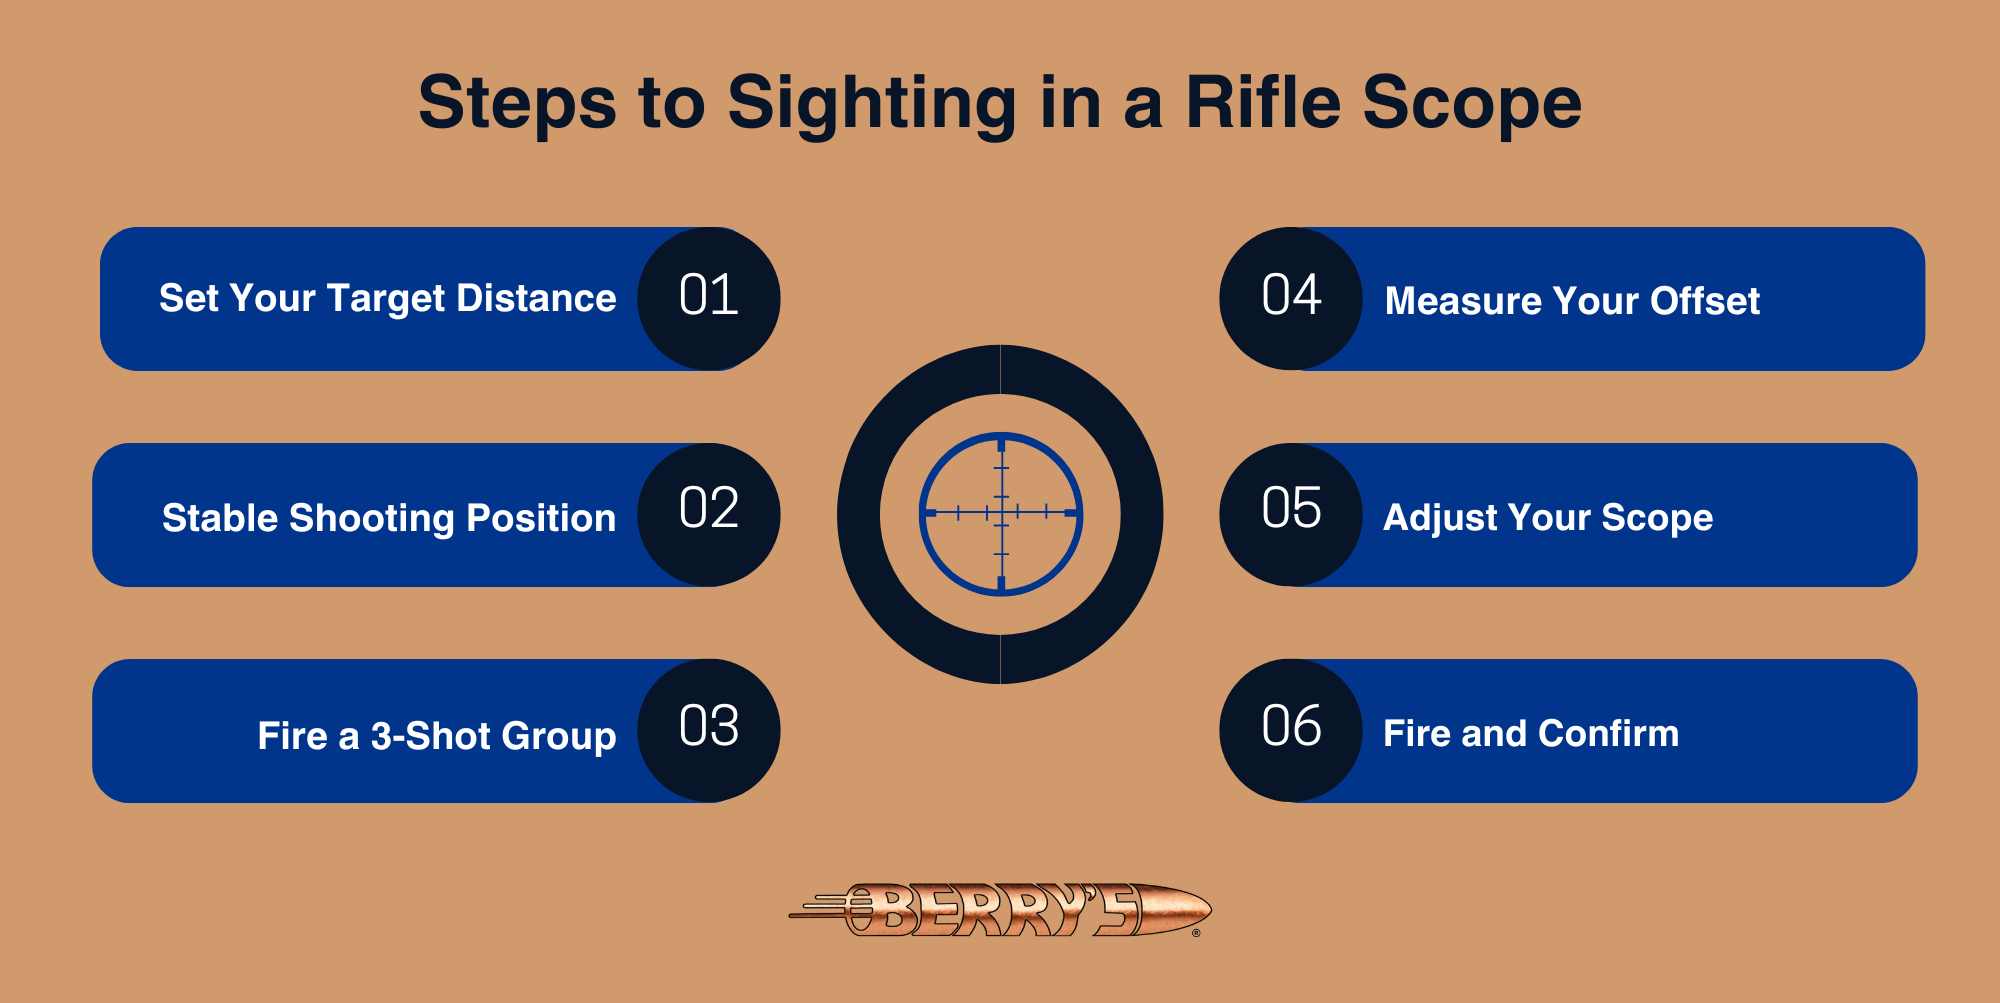
Step-by-Step: How to Sight in a Rifle Scope
Before firing your first round, lock in your setup. A stable shooting rest makes every adjustment more reliable and keeps your results honest.
Step 1: Set Your Target Distance
100 yards is the standard starting point for most rifles. Adjust based on intended use. A hunting rifle built for close cover may zero better at 50 yards.
Step 2: Get a Stable Shooting Position
Set up at the bench with your shooting rest in place. Support both the front and rear of the stock. Keep your body position identical for every shot. Any movement between shots adds variables that have nothing to do with your scope.
Step 3: Fire a 3-Shot Group
Fire a three-shot group before touching the turrets. A single bullet hole tells you almost nothing. A shot group shows your true average point of impact. A tight group landing away from center is actually a good sign. It means the rifle is consistent. Focus on grouping before worrying about where you land.
Step 4: Measure Your Offset
Measure from the center of your shot group to the center of your paper target. Note the horizontal and vertical offset in inches. A grid target makes this easier and more accurate.
Step 5: Adjust Your Scope
Dial the windage turret and elevation turret based on your measured offset. Use MOA or MIL math to calculate the correct number of clicks. If you are zeroing a new rifle for the first time, bore sighting with a bore sighter before the range session can get you on paper faster and save ammo.
Step 6: Fire and Confirm
Shoot another three-shot group at the same distance. Measure again and repeat until your point of impact matches your point of aim.
Common Mistakes to Avoid
Adjusting After Every Shot
Chasing a single shot leads to over-correction and a moving zero. Always fire a full group before making any scope adjustment.
Poor Stability
Inconsistent position between shots spreads your groups and makes your adjustments unreliable. Lock in your shooting rest setup before you start and don’t change it mid-session.
Switching Ammo Mid-Process
Changing loads mid-zero shifts the trajectory and bullet drop. Stick with one load from start to finish. If you switch loads later, re-zero with the new ammo.
Choosing the Right Zero Distance
25-Yard Zero
A 25-yard zero gets your shots on a paper target quickly. It’s a useful starting point when working with a new scope or recovering from a large shift in point of impact.
100-Yard Zero
The 100-yard zero is the most common and practical baseline for rifle shooting. Most ballistic calculator data references this distance, making holdover calculations straightforward.
200-Yard Zero
A 200-yard zero is an excellent choice for longer-range shooting and hunting. It produces a flatter trajectory at mid-range and makes holds beyond 200 yards easier to manage.
How Long Does It Take to Sight in a Rifle?
Most shooters zero a rifle in 15 to 30 minutes with the right setup. First-time zeroing on a new rifle or after a large adjustment takes longer. Bore sighting beforehand, using consistent ammo, and maintaining a stable position all reduce time on the range and keep wasted rounds to a minimum.
Tips for a Faster, More Accurate Zero
Shoot From the Same Position Every Time
Consistent setup leads to consistent groups. Don’t shift your position or adjust your rest between shots.
Don’t Adjust After a Single Shot
Three shots give you a reliable center to measure from. One shot doesn’t.
Use a Defined Aiming Point
A clear center on your target makes offset measurements more accurate. Grid-style paper targets work best for scope adjustment work.
Get the Right Gear to Dial in Your Rifle
Sighting in a rifle scope is about repeatability. Same ammo, same position, same distance, and a stable platform that removes movement from the equation. A confirmed zero gives you predictable accuracy every time. The next step is making sure your setup actually supports that kind of consistency.
Getting a consistent zero comes down to a stable, repeatable setup. Berry’s ProMarksman products are built for exactly that:
- Berry’s ProMarksman Shooting Bench provides a solid platform at the range so every shot starts from the same controlled position.
- Berry’s ProMarksman Shooting Rest gives you fine adjustment control over your rifle’s position, eliminating movement and guesswork while you dial in your scope.
Pair either product with Berry’s precision-plated bullets, known for their consistent weight, smooth profile, and reduced fouling during extended shooting sessions. When combined with a controlled shooting position, these components help produce tighter groups and more predictable results.
Shop Berry’s Manufacturing today and build a setup you can trust every time you pull the trigger.
/br>
SIGN UP FOR OUR NEWSLETTER